Showing posts with label Sewing. Show all posts

Friday, 1 June 2012

Meet Molly: say hello, wave goodbye...


This is Molly - a doll that I made this week for my friend's new baby daughter back in England. I'm proud to say that although she is (in my opinion) quite a stylish and chic girl about town, she is (truth be told) a rag doll. Having paid well over the odds for a copy of the English crafting magazine, Mollie Makes, I was determined that I had to use a pattern in it to save some money!!


And so, Molly the doll was borne of scrap material and left over batting from my daughter's quilt, felt from Christmas decoration projects that didn't get off the ground last year and cotton canvas from the trimmings of a banner made for a school fair!!


But from these humble beginnings, I have an inkling that great adventures lie ahead for Molly and she has that twinkle in her eye that (like my daughter's) belies a mischievous spirit.


In our short time together, I've gotten to know and quite like this little lady (smiling up at me as I've been sewing). Her arrival hasn't gone unnoticed and the other little lady of the house expressed great excitement at discovering Molly's red shoes!


Its a harsh reality of this expat life though that the people you get to know come and go. All too often friends that make up the fabric of every day move on to new pastures. And so, we're saying goodbye to Molly and sending her off to England for an expat adventure of her own. Vi ses!

Sunday, 25 March 2012

A quilting labour of love


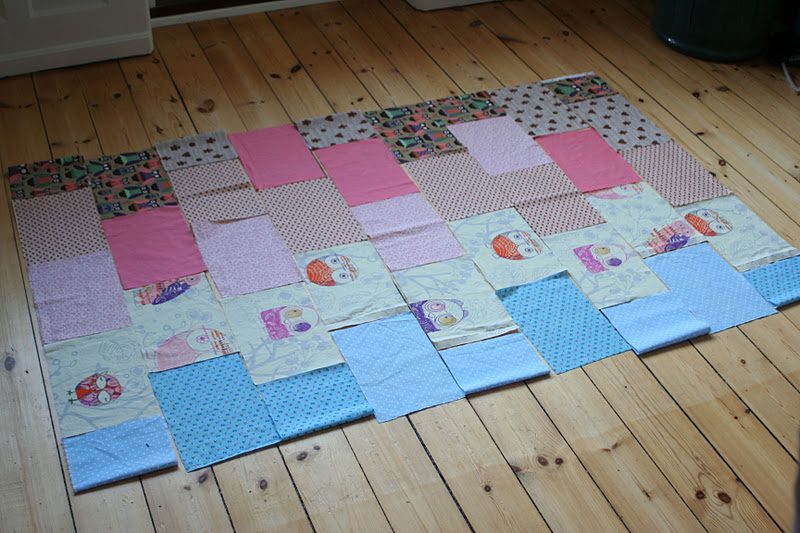
It has been a big week in our house. My news is: I've finished my daughter's quilt - my first attempt at quilting - and just in time for her second birthday on Sunday. Its progress had been brought to a screeching halt by the craziness of the last couple of months that has gulped down my evenings leaving little time for the fun creative stuff. Although, it is fair to say that I had left the quilt in a place that was not much fun at all - I had reached an impasse when I came to the last instruction in the pattern I had been faithfully following: the instruction to 'attach the binding'.


I didn't know where to begin. I was following a quilt pattern from the Polkadot Chair blog and she had used satin ribbon for her binding, so that's what I decided to do too. In fairness, she did not recommend it, but I figured, 'how hard could it be?'. I also have the memories of my favourite blanket as a child having a satin binding and so I was keen that my daughter should have the same...


That was until I tried to attach the ribbon to the quilt. It was a nightmare. Being so soft only means that it slides around all over the place and pinning or tacking only damages it. It took me three attempts to learn this and left me despairing of how I would ever finish. The beautiful ribbon lay unpicked and frayed - looking as defeated as I felt.


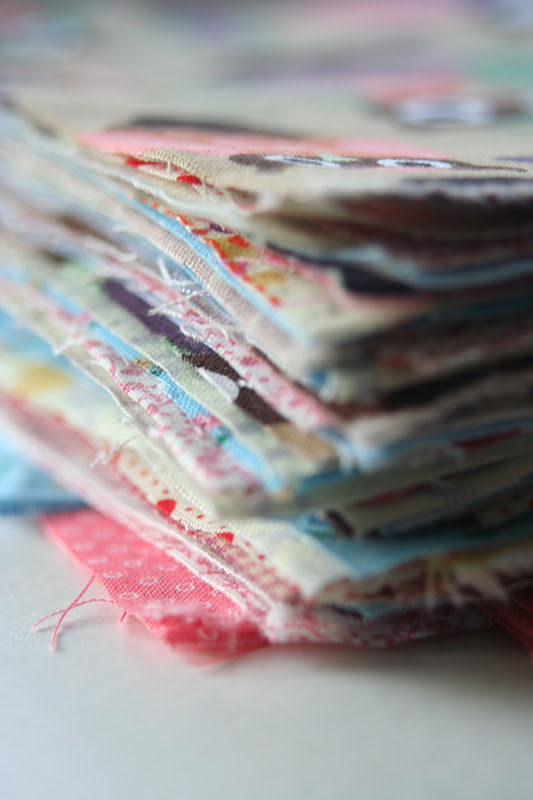
A couple of months back, I found an off cut of dusty pink cotton with white polka dots and bought it with a vague intention of one day re-tackling the whole binding issue. All I needed was time...


This week, my Danish lesson was cancelled because my teacher was sick, instantly freeing up two precious children-free evenings and I pounced on the opportunity to do get some much needed me-time. I ran at the binding and found a fabulous tutorial on Crazy Mom Quilts that gave clear instructions how to make a binding and how to attach it. It took less than a hour to make a long strip of polka dot bind, I stayed up late one night to machine sew it onto one side of the quilt and then hand stitched the other.


To say I am thrilled would be an understatement. It has been a roller coaster of a quilting adventure but now, seeing my daughter snuggle up with it, I know it was worth every moment.


Oh, and the other big news in our household this week was my son learning to ride his bike without the stabilisers. We are so incredibly proud of his effort and I had the biggest grin on my face as he told me tonight that he now has two favourite things that he loves in the world: his lego and riding his bike.
I did say its been a big week for us ; )

Sunday, 23 October 2011

Sew far, sew good...

A couple of months ago I spent a Sunday morning at my favourite loppemarked in Charlottenlund station. I picked up some fabulous bargains: toys are always good value when they're cared for and still in good working condition and likewise one can save a lot on children's clothes. However, on this particular Sunday there was a lady selling leftover quilting fabric...

Didn't patchwork quilting itself begin as a way to use up leftover scraps of fabric? Wouldn't it therefore be the ultimate act of thrift to make a quilt from the leftover scraps of a quilter? I couldn't resist! Having been on the lookout for inspiration for a blanket for my daughter for some time, this seemed like an ideal project.
I chose some colourful fabric rolls with red-ish and blue-ish tones and paid pennies for them. I added a couple of other cream and brown fabric strips with owl motifs that I had been saving and then stockpiled them and waited for some freetime when I could set to.... With Danish language classes taking up two of my evenings every week and the course homework taking up two more, that freetime to indulge in patchwork creativity was strangely elusive.
But this week was half term (or efterårsferie) and so my precious evenings were free again. I found a very simple beginners' quilt pattern and, armed with my rotary cutter, I embarked upon the first and reportedly most difficult part of quilting - the cutting. I had been warned about the importance of cutting the fabric pieces the exact size and also the trickiness of using the rotary cutter and getting it right.
I'm not one for gadgets and I soon decided that I could just as easily use an iron to press the fabric and then cut straight lines with my fabric scissors. This seemed to work perfectly well and after a couple of hours I had a neat stack of patchwork pieces ready to be sewn together.
Deciding how to place the patchwork rectangles together was more of a challenge than I had anticipated. Should they be symmetric? Should they look random? How do I 'make' them look random?! I played around with a couple of arrangements and settled for a mixture of order and chaos - brown tones on one side and blues on the other with reds, pinks and cream in between.

As the holiday draws to a close, it is still a work in progress. I have sewn together the horizontal strips and it is incredibly satisfying to see the whole emerging from the individual pieces. I'm pleased with the way the fabrics sit together and, so far, the sizing is going to plan.
If I can find a few more free evenings before Christmas then the quilt might make it amongst my daughter's presents under the tree! Before then, though, I will have to decide what fabric to use for the backing: cotton or a soft snuggly fleece?


Sunday, 10 July 2011

Sew addictive

This time last week I was bemoaning the fact that with the photo challenge over and me being on a summer break from my Danish language classes, life as a stay at home mum was becoming a bit intense. Looking after children over the summer holidays is definitely fun and there's lots of opportunity for creativity but I do like to have my own little project going on on the side - something I do just for me. Then I read a couple of blogs by talented mums who make children's clothes and suddenly I was inspired and off to the shops I went to buy a sewing machine...
Last week I was feeling an absence of sublimity, this week my children are wearing pants that I made for them!! Inspired by a blog called MADE and the cute 'pants' (or trousers if you're reading this in England!) pattern that I was assured would be an ideal beginner project, I picked up some fabrics (cherries on blue for my daughter and stripey denim for my son) and set to work.
I'm not a complete novice at handling a sewing machine as my mother made all of our clothes when we were growing up; I know how to make up a spool and thread a machine and I also have some experience of using the foot pedal. However, prior to this week I had never tried to do any of these things with an excited 3 (nearly 4) year old sitting on my knee and keen to be my 'assistant'.
However, it turns out that he was indeed a very helpful assistant and he patiently watched and waited for his turn in the star role as 'pusher of the reverse sewing button'!! We worked together to make his little sister's cherry pants and I had to try hard to suppress my proud smile as she tried them on.
When the novelty had worn off and both children were sleeping, I spent more time getting to know the nuances of my new machine and took the plunge and made some pants for my son with the added feature of...... pockets!!
It was great fun to see the pants taking shape as I sewed and very satisfying to try on the finished article this morning. The patterns from MADE worked perfectly and her tutorials were very clear and easy to follow. How my week turned around and now I'm thinking about what to make next and scouring the internet for more funky patterns.